My tip will be coming at the end of this post.
You can make seven different bow sizes with this one product: 3/4", 1", 1 1/4", 1 3/8", 1 3/4", 2, 3/8", 2 3/4". I've had mine for a couple of years and really love it. Back then it cost $5.95. I'm not sure how much they are today.
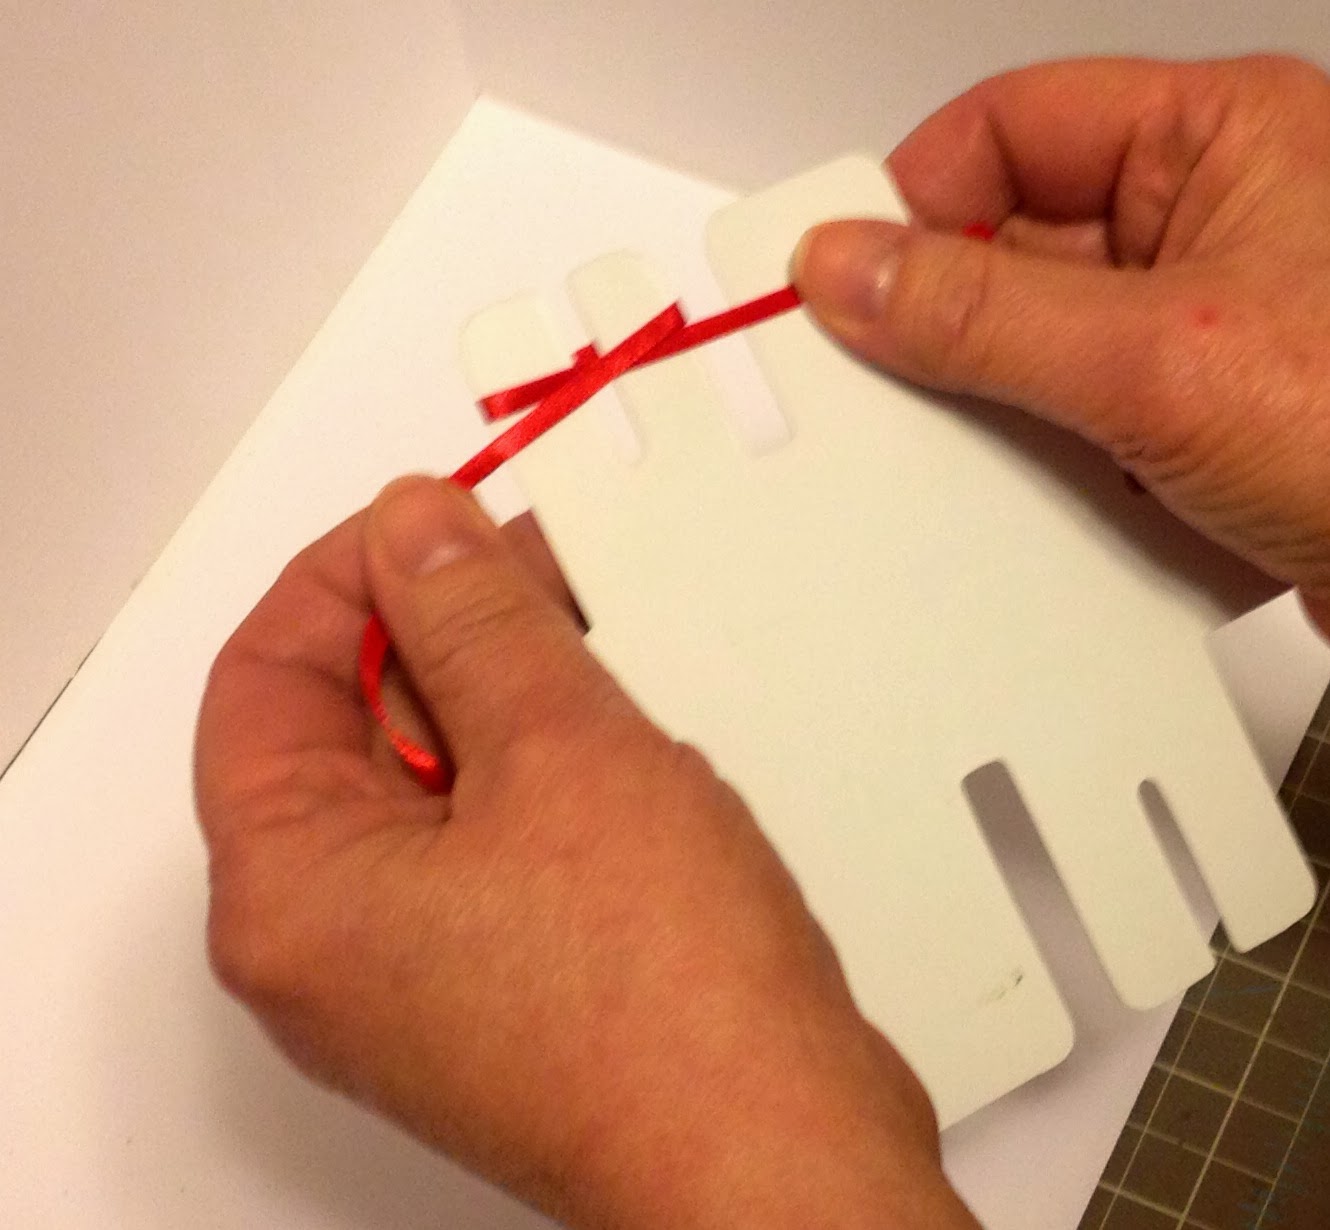
To make a bow: Wrap your ribbon around Bow Easy, holding the tail with your free thumb. (I'm left handed, so my right thumb is securing the tail in this picture.)
Push leading end through the rabbit hole (space under the ribbon).
Pull through and over the top.
Leading ribbon edge goes through the loop and then pull tight.
Ta-Da! Cute small ribbon. Just slide off and put on your project.
What's that you say? You didn't quite get how this works? Or, you're right handed?
Here's my tip: A video tutorial published by someone else:
Bow Easy Video Tutorial.
I hope you enjoyed today's tutorial. If you have any questions, leave a comment below and someone will get back to you.
Thank you and God Bless!
~Marilyn


No comments:
Post a Comment
Leave comment here :-)