Sunday, August 31, 2014

Burlap Ferris Wheel Monogram Garden Flag

Hello, Friends!  August is gone and September has arrived.  Which means the State Fair will be here soon.  Time to change out our garden flag with this colorful Ferris Wheel design.  

Ferris Wheel Monogram Garden Flag on Burlap

Thank you for visiting my blog today! ~ Marilyn

Saturday, August 30, 2014

DIY Cake Carrier

Hello, Friends!  Marilyn here with a DIY Cake Carrier project.  I've seen these cake carriers all over the Pinterest board.  It appears to me that they were all created using vinyl.  Vinyl definitely  works, but I much prefer working with Square1 printable.


Finished Cake Carrier

Here's what you'll need :

  • Cake Carrier - I've actually seen nice ones at the Dollar Store.  But today I didn't score and had to purchase mine at Walmart.
  • Square1 Printable (or vinyl) - I used about 1 1/2 sheets per cake carrier.
  • Tulle or Ribbon - just to fancy it up
  • Silhouette Software
  • Cameo Cutter


Step 1:  Get the cake carrier.  As I said above, I've seen nice ones at the Dollar Store and could just kick myself for not getting one when I saw it.  The ones used in this post are from Walmart.

Cake Carrier from Walmart

Step 2:  Make your designs.  I decided upon an initial with chevron fill.  It's sized at about 4.5" in height.  The polka dots are all 1" circles that are color filled with random color selections.

Design within Silhouette Software.
The initial was created using the Bookman Old Style font in bold.
See all the 1" circles?  I way underestimated what I needed - double the number.

Step 3:  Print and Cut.  Load a sheet of Square1 Printable in your printer and print normally making sure you've added the registration marks first.  Once done, load to your Cameo and cut outside lines only.  (All those chevron lines are way too much work to deal with.  That's another reason why I'm using Square1 Printable instead of vinyl.)

Cut your images - outside lines only
Step 4:  Peal and Stick.  Yep - it's that easy.  Love Square1 Printable for this reason.  Super user friendly in my opinion.

Cake Carriers before ribbon and tulle
Step 5:  Add some tulle or ribbon on top.  Now prior to this, I had assumed that I had lots of tulle in lots of colors.  Reality is so sad sometimes.  I ended up using a little tulle on one carrier and some curling ribbon on the other.

Finished Cake Carrier

I hope you enjoyed my tutorial today and will visit again soon! ~ Marilyn

Saturday, August 23, 2014

Place Mats

Hello, Friends!   Today I made a fun burlap place mat.  The holidays will be here before you know it and I'm getting my table settings off to a running start.  These would look fun on your table as well; or maybe give as a gift for someone else.

Burlap Place Mat

To create this place mat you'll need:


  • Burlap - mine has been cut at 12" x 13".  I didn't want it too big as our table gets pretty full with family.
  • Utensils Image - #53392 from the Silhouette Store
  • Text - font used is Alex Brush
  • Heat Press and Ink Transfer Printer and Paper
  • Silhouette Software


After you download your image, you'll need to color fill to your own preferences.  You'll need to split your image to add the text in the center.  Then add your own text at the top, middle and bottom.

Once I was done with my design, I flipped the image horizontally and sent it to the my Ricoh Chromablast printer using 11" x 17" heat transfer paper.  The image was then heat pressed onto the burlap at 375 degrees for 20 seconds.

The process is simple once you have acquired all the expensive equipment.

Thanks for visiting today! ~ Marilyn

Wednesday, August 20, 2014

Birthday Card - Using Tagxedo

Hello, Friends!  Marilyn here with a birthday card that incorporates some subway art.  I found a fun (free!!) and easy online application from Tagxedo.Com that lets you create your own subway art.

First, here's my finished birthday card:
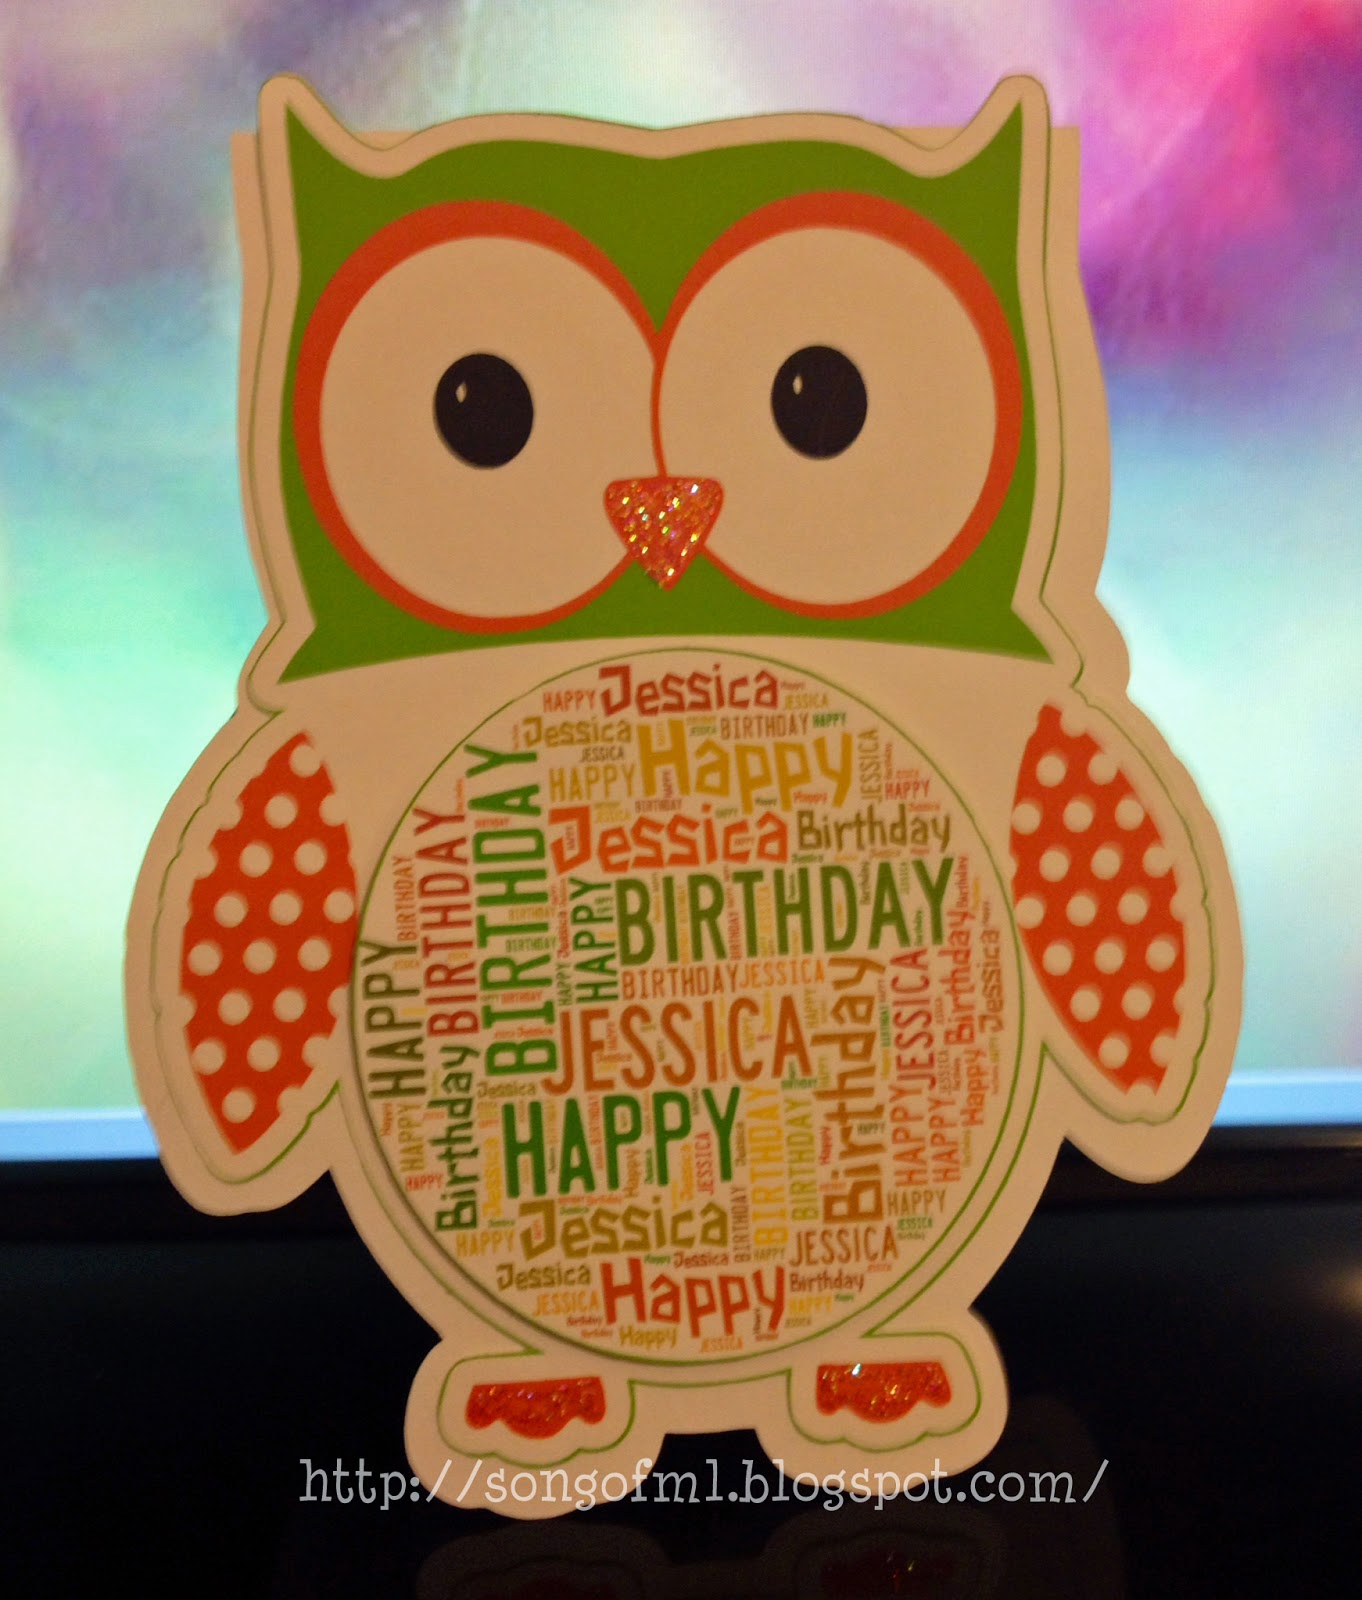
A2 sized card
See the subway art in the center of the owl?

Here's how to do it:

Step 1:  Go to www.tagxedo.com
Step 2:  Select the orange "Create" button on left.


Step 3:  Select the Load Button on the left column.


Step 4:  Type the words that you would like to have included in your final subway art.  Enter the same word more than once and it'll appear larger that the rest.  When done, select Submit button on right.


Step 5:  Go to Theme and select a color choice.

Step 6:  Go to Orientation.  I chose H/V (horizontal and vertical) for mine.

Step 7:  Go to Shape.  I choose the circle.  This made all my words group together in a circle.  I could have chosen "Invert" which would have caused all the words to appear outside of a circle.


Lots of fun shapes available!  You can also upload your own shape.

Step 8:  When you are happy with how your Subway art appears, chose the Save | Share button and save to your computer.

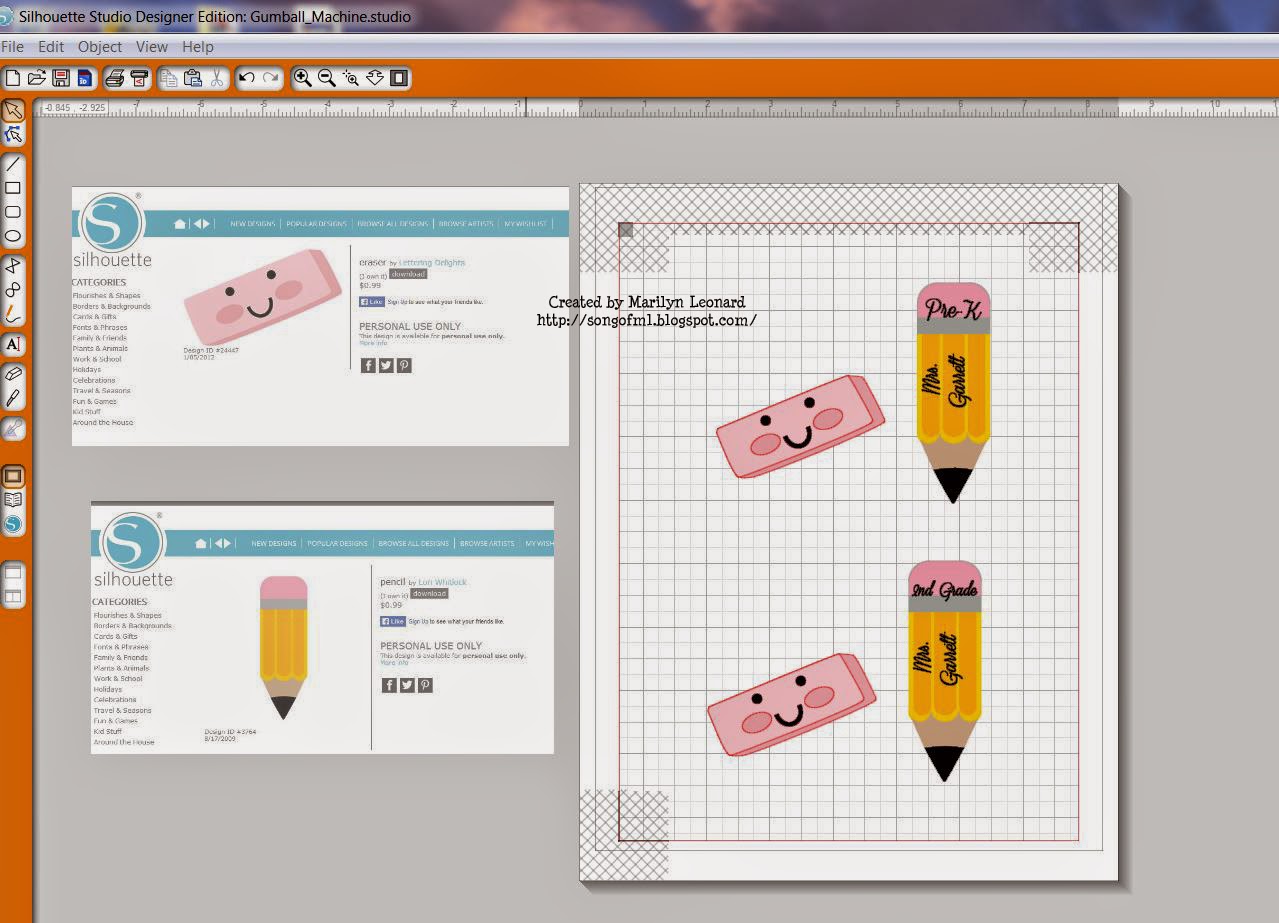
Now that I had my Subway art nicely grouped in a circle, I imported it into my Silhouette software and made it the center of my owl.  The circle subway art is popped up with foam tape.

I hope you enjoyed this tutorial and will give Tagxedo a try.  It's free - so have fun!

~ Marilyn

Saturday, August 16, 2014

Garden Flag

Hello, Friends.  Marilyn here with a tutorial on creating a garden flag.

Garden Flag
Here's what you'll need:

  • Burlap Flag - If you sew, you can make your own.  I purchased mine
  • Garden Flag Stand - I purchased mine at Lowe's for $7.98
  • Silhouette 
  • Vinyl or Ink Transfer - I used Ink Transfer
  • Heat Press or Iron - I used a heat press

After acquiring your burlap garden flag, you'll need to also get a garden flag stand.  I purchased mine at Lowe's for $7.98.  You'll need to screw a couple of the lengths together.

Garden Flag Stand purchased at Lowe's for $7.98
On my garden flag, I decided I wanted a Split Letter of "L" with our family name in the center and our first names at the bottom.  The Split Letter is created within Silhouette using the Regal Font.  To see a tutorial on creating a split letter go here.

Regal Font that was split

Since I used an ink transfer, I just needed to flip my image horizontally and print onto transfer paper.  If you're using vinyl, you'll need to send to your cutter and then weed out the portions not needed.

After printing onto transfer paper, I pressed the ink transfer onto my burlap at 375 degrees for 20 seconds.  The carrier sheet needs to be removed while hot.  I ink pressed both sides of the flag with the same image.

Completed Garden Flag

The finished flag just needs to be slipped onto the flag stand and you're all done.

And . . . a couple of other monogram garden flag versions :

Created with Opaque Transfer Paper


Created with Square1 Iron-On


Back of Garden Flag


Thank you for visiting today! ~ Marilyn

Saturday, August 9, 2014

Gumball Machine - Eraser Dispenser

Hello, Friends!  Marilyn here with another back-to-school project for my DILs who are both elementary teachers.  I found some Pinterest inspiration and just had to make a Gumball Machine / Eraser Dispenser!

Gumball Machine - Eraser Dispenser
Here's what you'll need for this project:

  • Gumball Machine - I found mine at our local mall in a candy shop.  $29 each.
  • Colorful Erasers - It took 432 erasers to fill the gumball machine.  Total cost of $30.
  • Square1 Printable / Repositional - 1 sheet approximately $1.
  • Images - from Silhouette Store (Pencil design #3764) (Eraser design #24447)
  • Ink Jet Printer
  • Silhouette cutter


Pinterest Inspiration

Step 1:  The process to make this is very simple.  Start with a Gumball Machine:
12" Gumball Machine - cost $29
The man at the candy store where the gumball machine was purchased gave instructions on how to make the machine work without coins.  I did this first before proceeding with other steps.


Step 2:  Fill with colorful erasers:

432 erasers in this gumball machine.  Total cost of erasers was $30

Step 3:  Design:
Screen shot of my Silhouette software layout before printing or cutting

I used a couple of designs found in the Silhouette store.  I added text to the pencil to personalize.  Set your images to cut outline - making it a Print and Cut image.

Step 4:  Print and Cut:


Add registration marks and send to your printer after loading a sheet of Square1.  Cut images out using Silhouette.

Step 5:  Add images to Gumball Machine:

Back side of Gumball Dispenser


The Square1 will behave like a sticker and feel like fabric.  It will stay in place until you are are ready to remove.

Pencil and Eraser Dispensers together


Thank you for visiting today! ~ Marilyn


Tuesday, August 5, 2014

Spectacular Birthday

Hello, Friends!  Marilyn here with a birthday card that works for both men and women.

A2 sized card = 5.5" x 4.25"

  • Glasses with Reflection purchased in Silhouette Store #59995
  • Sentiment - computer generated
  • Inspiration from Pinterest

I cut three sets of sunglasses and mounted them together to create a chipboard effect.  And I was able to create and print all layers for this card with one piece of 8.5" x 11" white card stock - front and inside!  Here's my Silhouette mat layout:

On left is the Pinterest inspiration.

Here's a view of the inside of the card:

Inside of card

Thanks for visiting my blog today! ~ Marilyn


Sunday, August 3, 2014

Brave Little Toaster

Hello, Friends!  Marilyn here with my attempt at recreating the Brave Little Toaster character on my own toaster.

Brave Little Toaster

Here's what I used:

  • Square1 
  • Toaster
  • Silhouette Software
  • Cameo Cutter


Step 1:  Your toaster.  I admit mine needed to be cleaned before this process started.

Before picture of toaster

Step 2:  Using Silhouette Software and an Pinterest image for inspiration, make some eyes, mouth and text.  Added an offset to make application easier.

Make your images Print and Cut

Step 3: Load Square 1 into your printer, print and cut out with Cameo.


Step 4:  Peel Square 1 from carrier sheet and apply to toaster.


Square 1 is repositionable.  So, you can move around until you're happy with placement.


All done!


Hope you enjoyed my project!  ~ Marilyn

Friday, August 1, 2014

Basketball Birthday

Hello, Friends!  Marilyn here.  My DIL has twin nephews who will be 6 on the 10th of this month.  She is putting together their birthday party and is using a basketball theme.  If you're from Oklahoma like us, there's only ONE basketball team - The OKC Thunder!

Birthday Shirts with OKC Thunder Logos

So, I offered to pitch in a bit my making shirts for the twins and their father.  The logo for the OKC Thunder was found from an online search.  I downloaded it and traced it within my Silhouette software and created a Print and Cut from it.

The logo was sized and printed using my Ricoh 7100 printer and Opaque "Dark" Transfer paper.  Images were the cut out with my Silhouette Cameo and heat pressed onto the shirts at 345 degrees for 20 seconds.  The Opaque Transfer Paper requires a cool peel.

Back of Birthday Shirts
The back of the shirts sport their age "6".  Their father's shirt has "DAD" on it.

Thank you for visiting today! ~ Marilyn

SBC August Card Kit

Hello, Friends!  Today kicks off another card kit by the SBC team.  August's kit contains some beautiful designer papers as well as a set of Get Well stamps that are adorable!  Here are the cards I created from my kit:

Card 1

Card 2

Card 3


Thank you for visiting my blog today! ~ Marilyn

Make sure you visit all the blogs featuring the August card kit!

Blog List: